How to Set Up WhatsApp Cloud API for Chatbridge Part 1
To set up WhatsApp Cloud API integration with ChatBridge, you need a Meta developer account, an app, and proper webhook configuration. To use the API in production, your business must first be verified through Meta Business Manager.
1. Create a Meta Developer Account
- Visit Meta for Developers and log in with your Facebook credentials.
- Accept the platform terms and create a developer account.
2. Create a New App
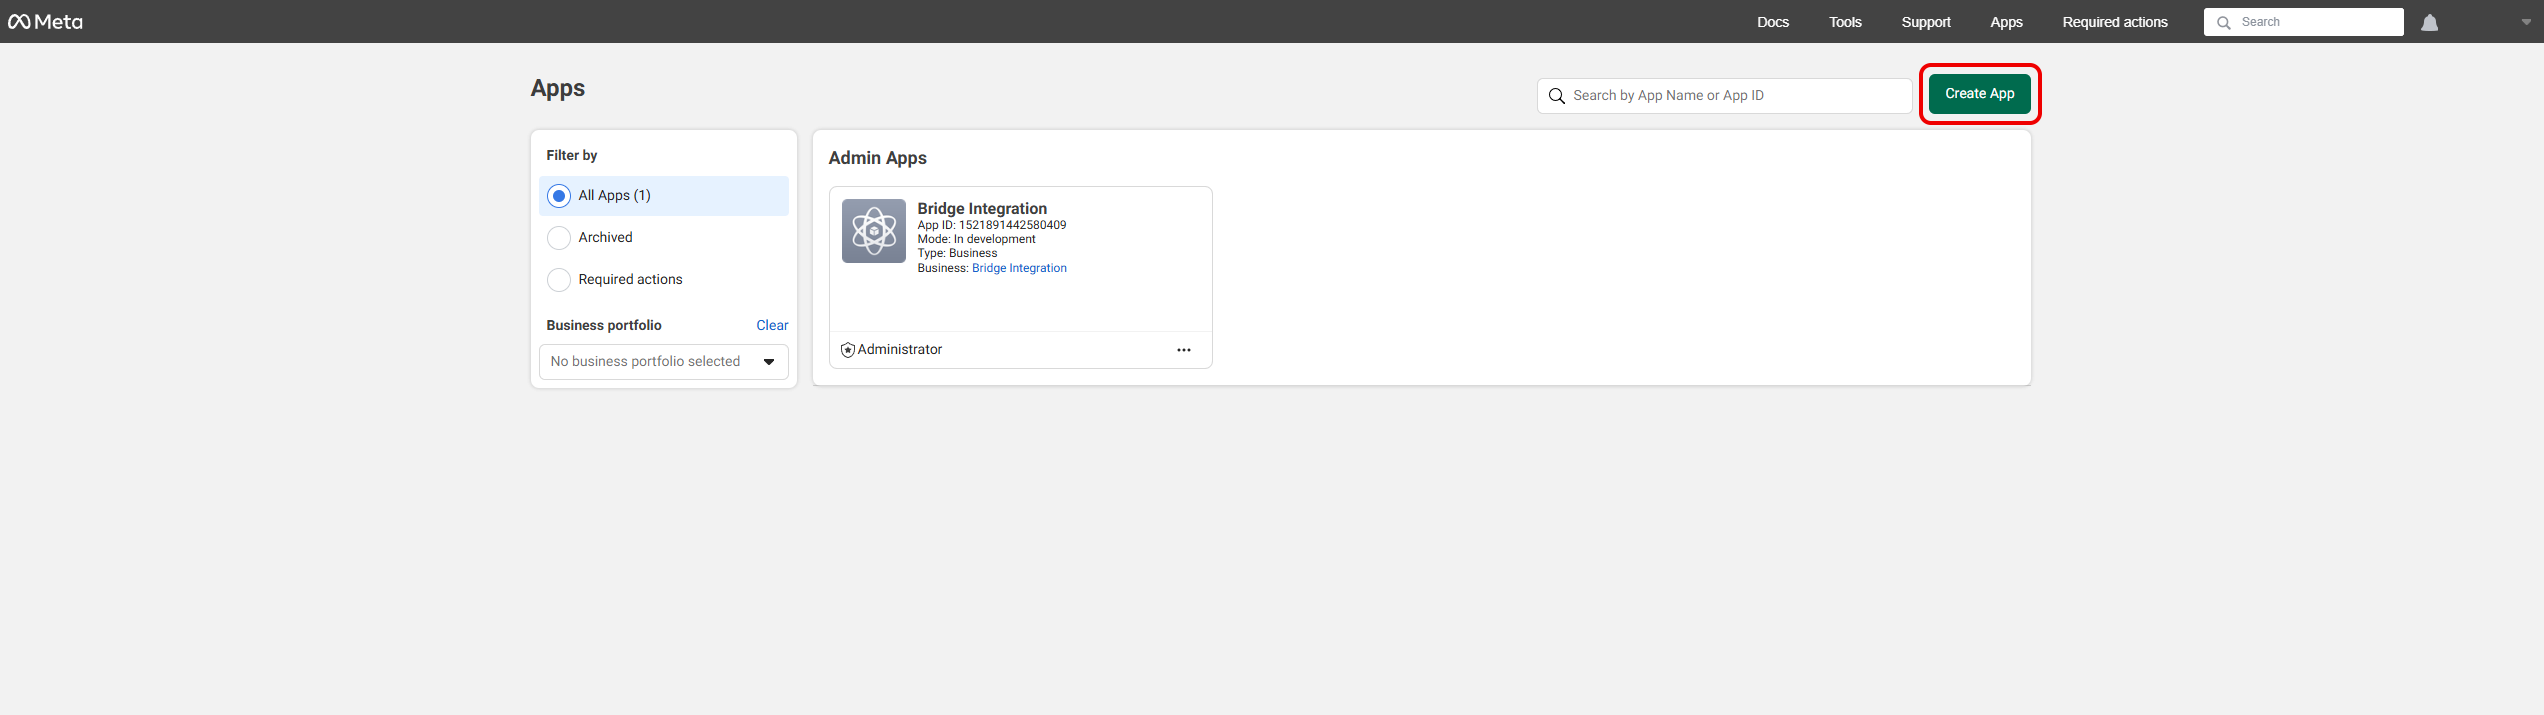
- In the Meta Developer Console, click Create App.
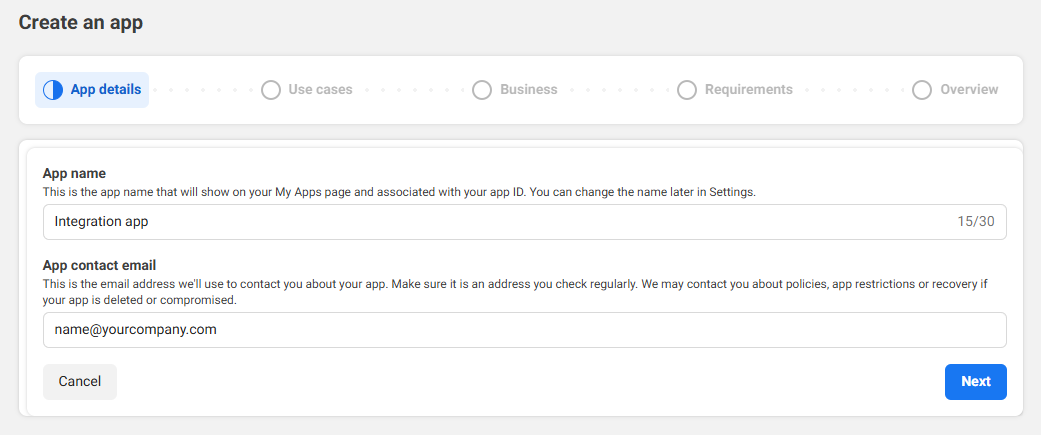
- Choose an app name and contact email, then click Next.
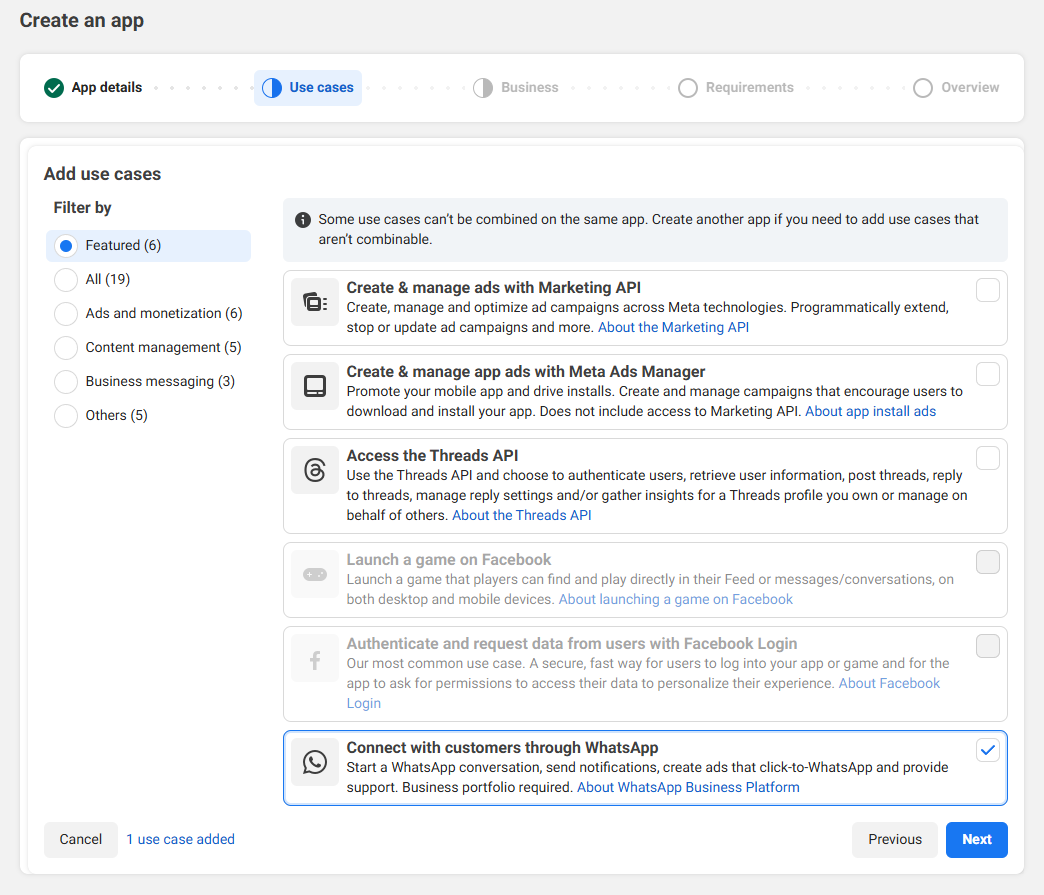
- Select Connect with customers through WhatsApp and click Next.
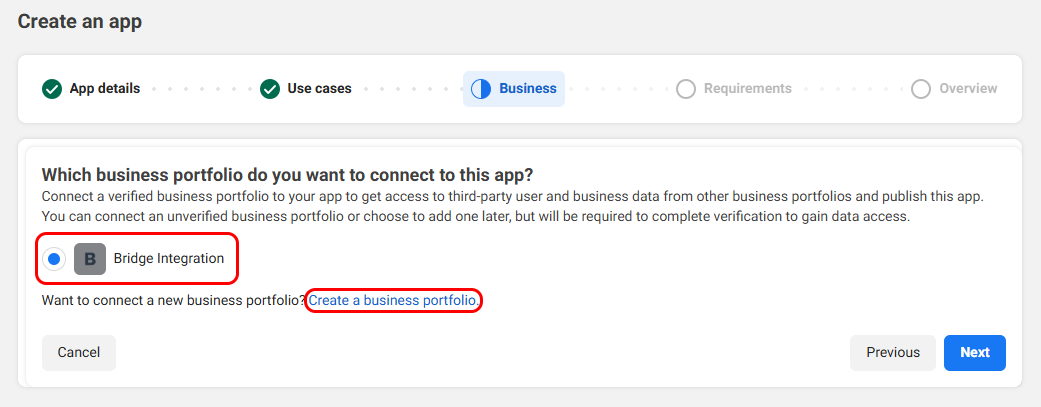
- Choose your business portfolio or create a new one.
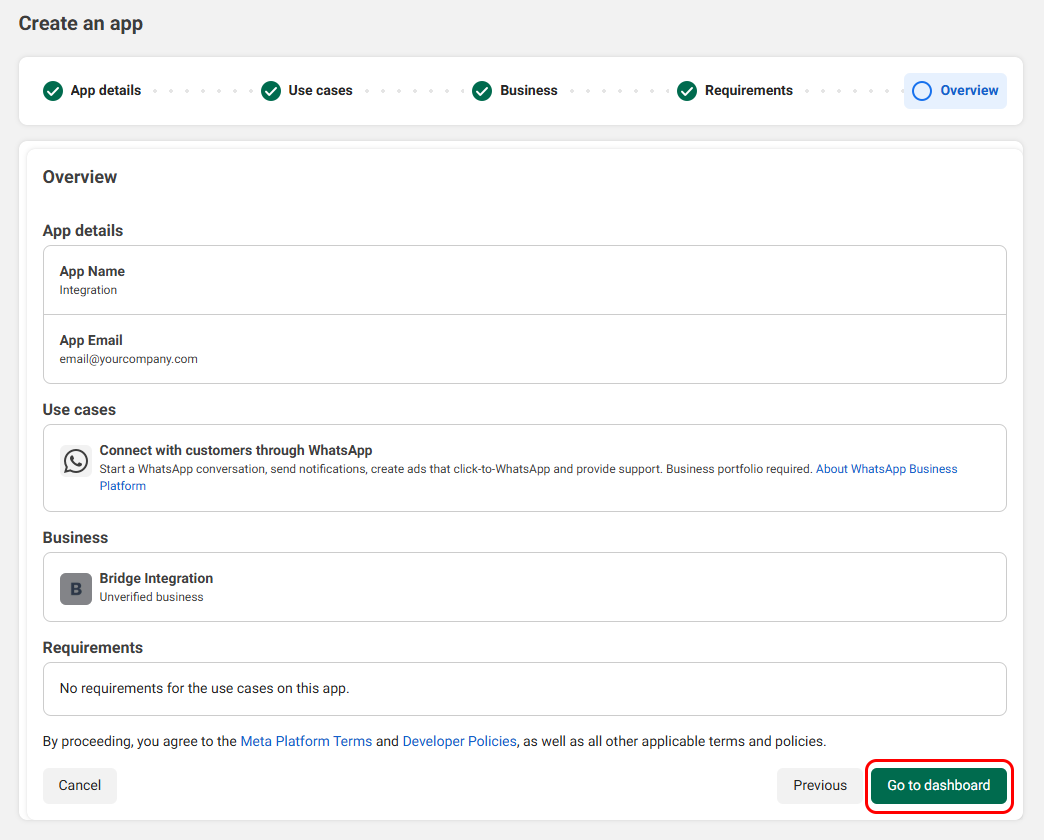
- Click Next again, then on the Overview step click Go to Dashboard.
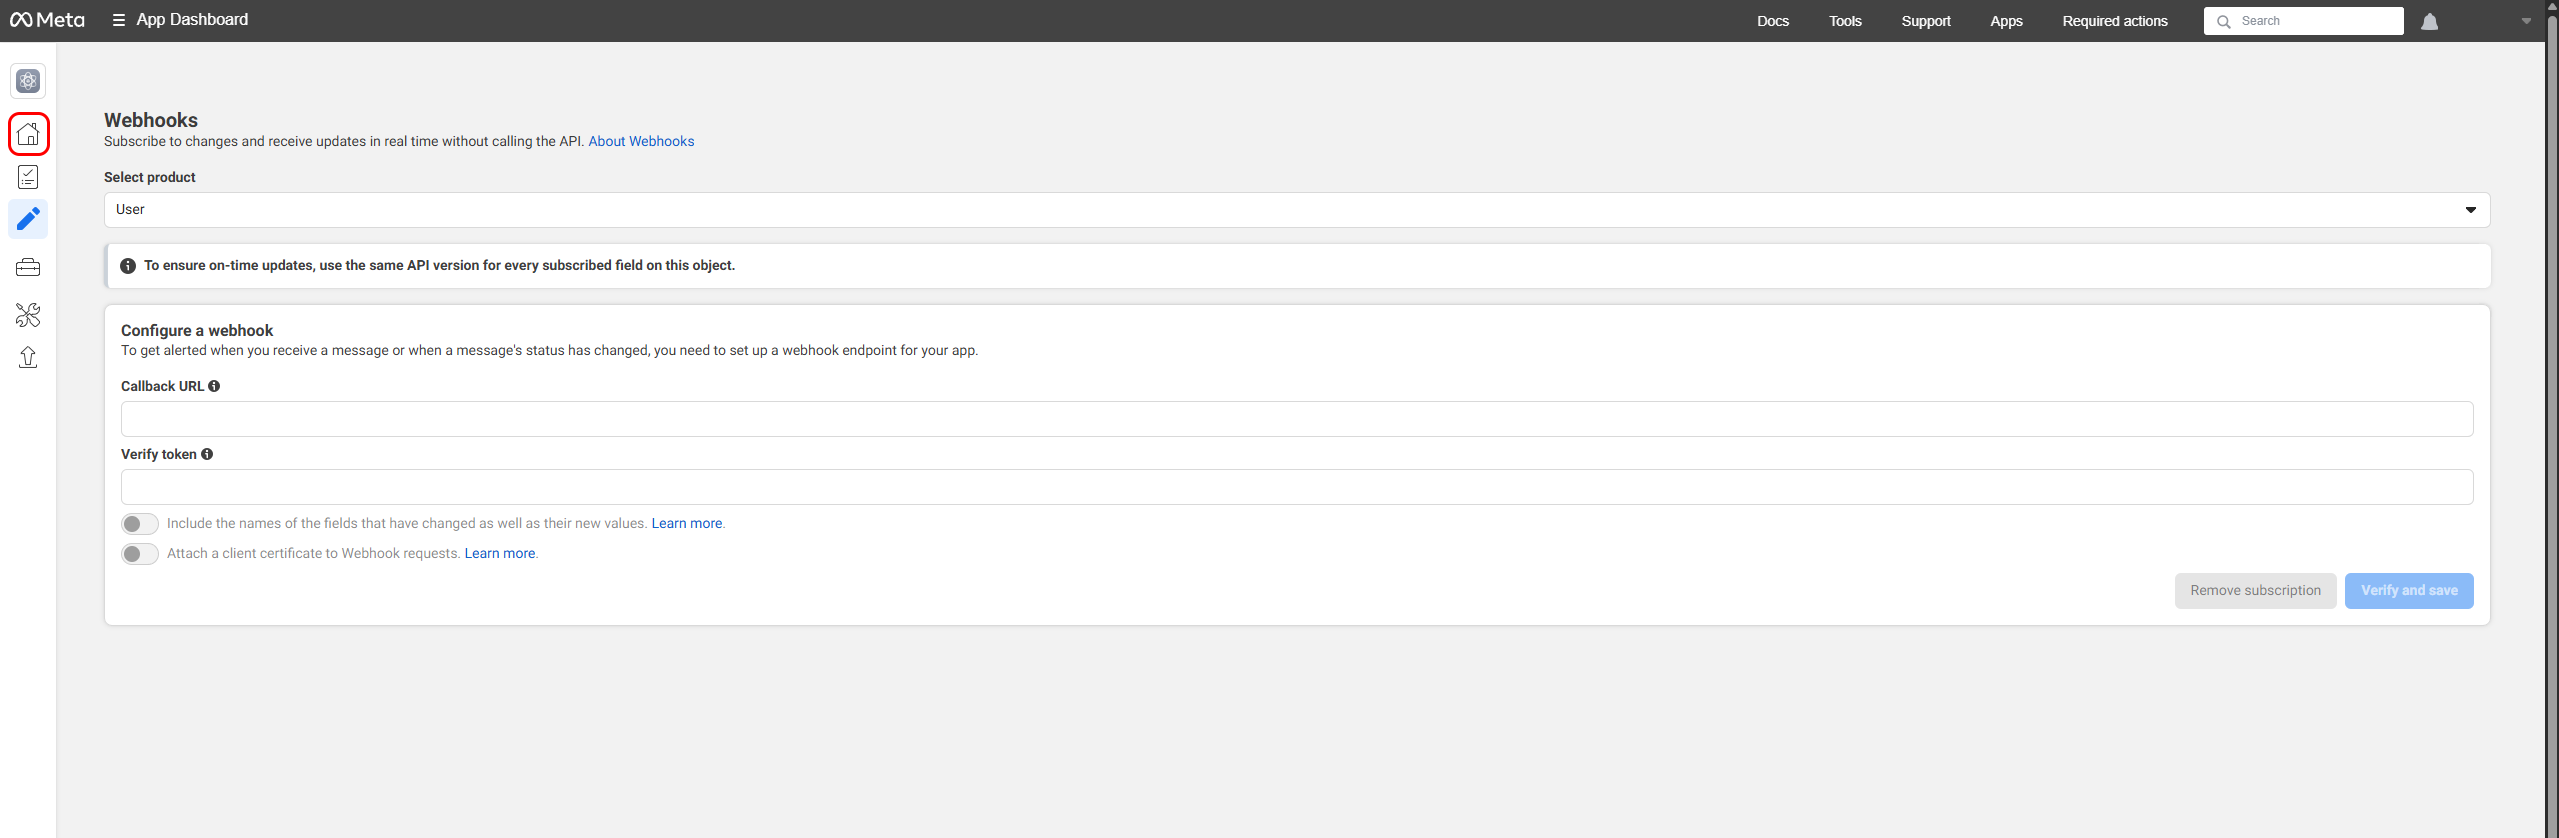
3. Configure Webhooks
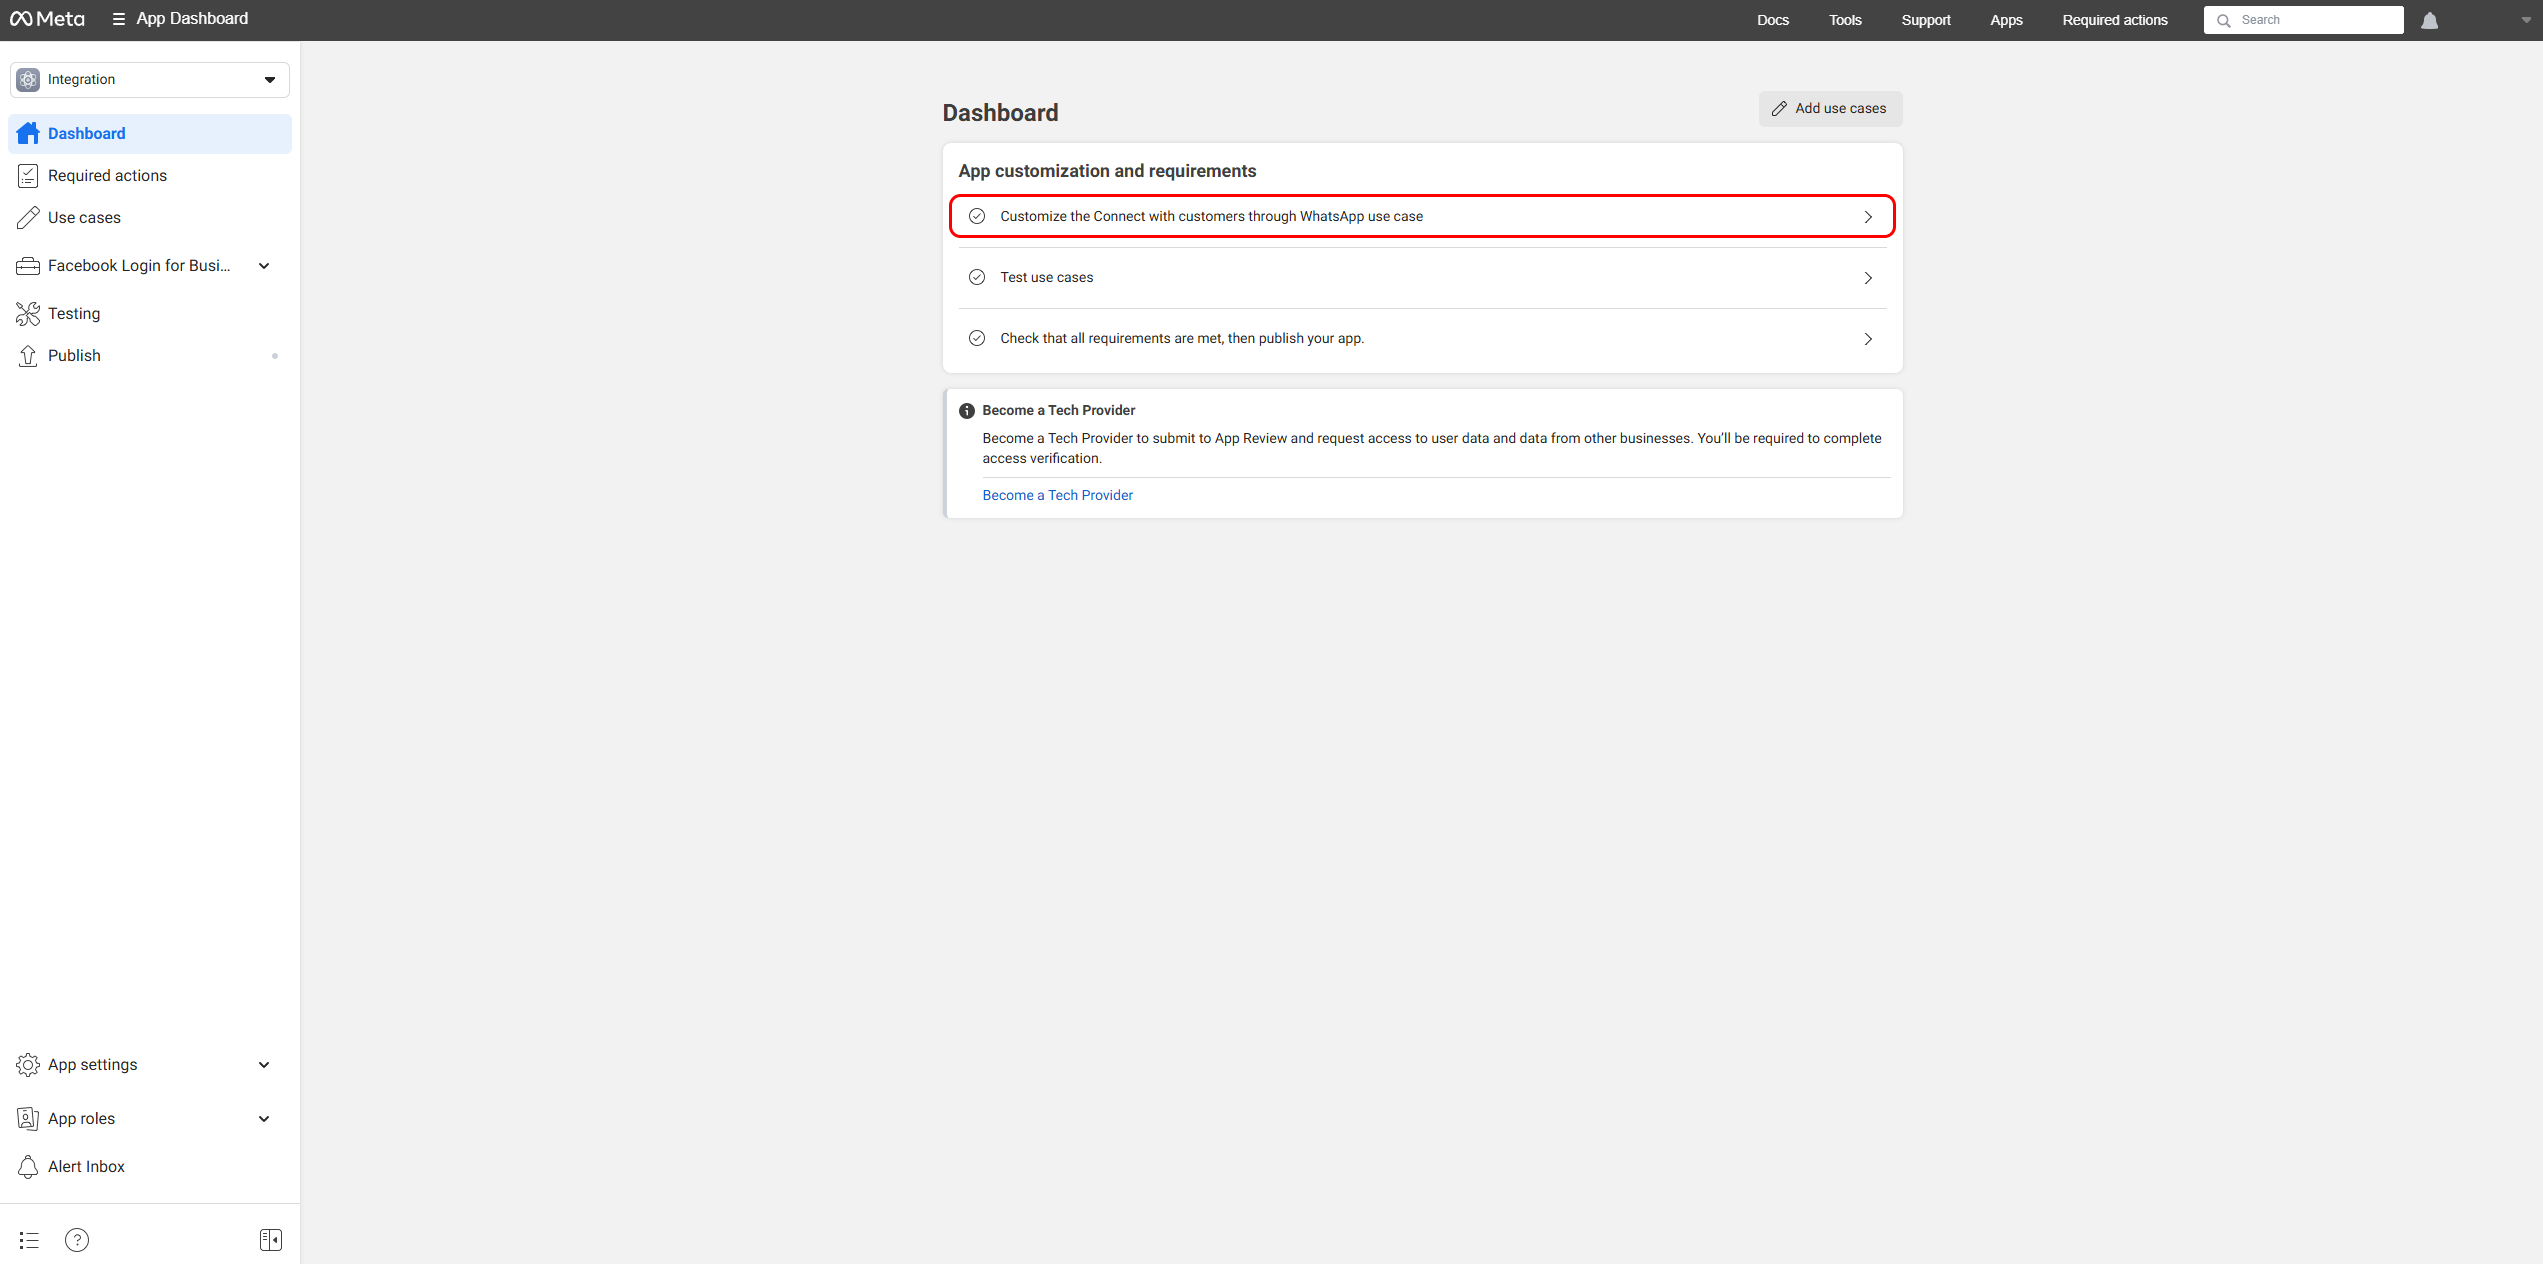
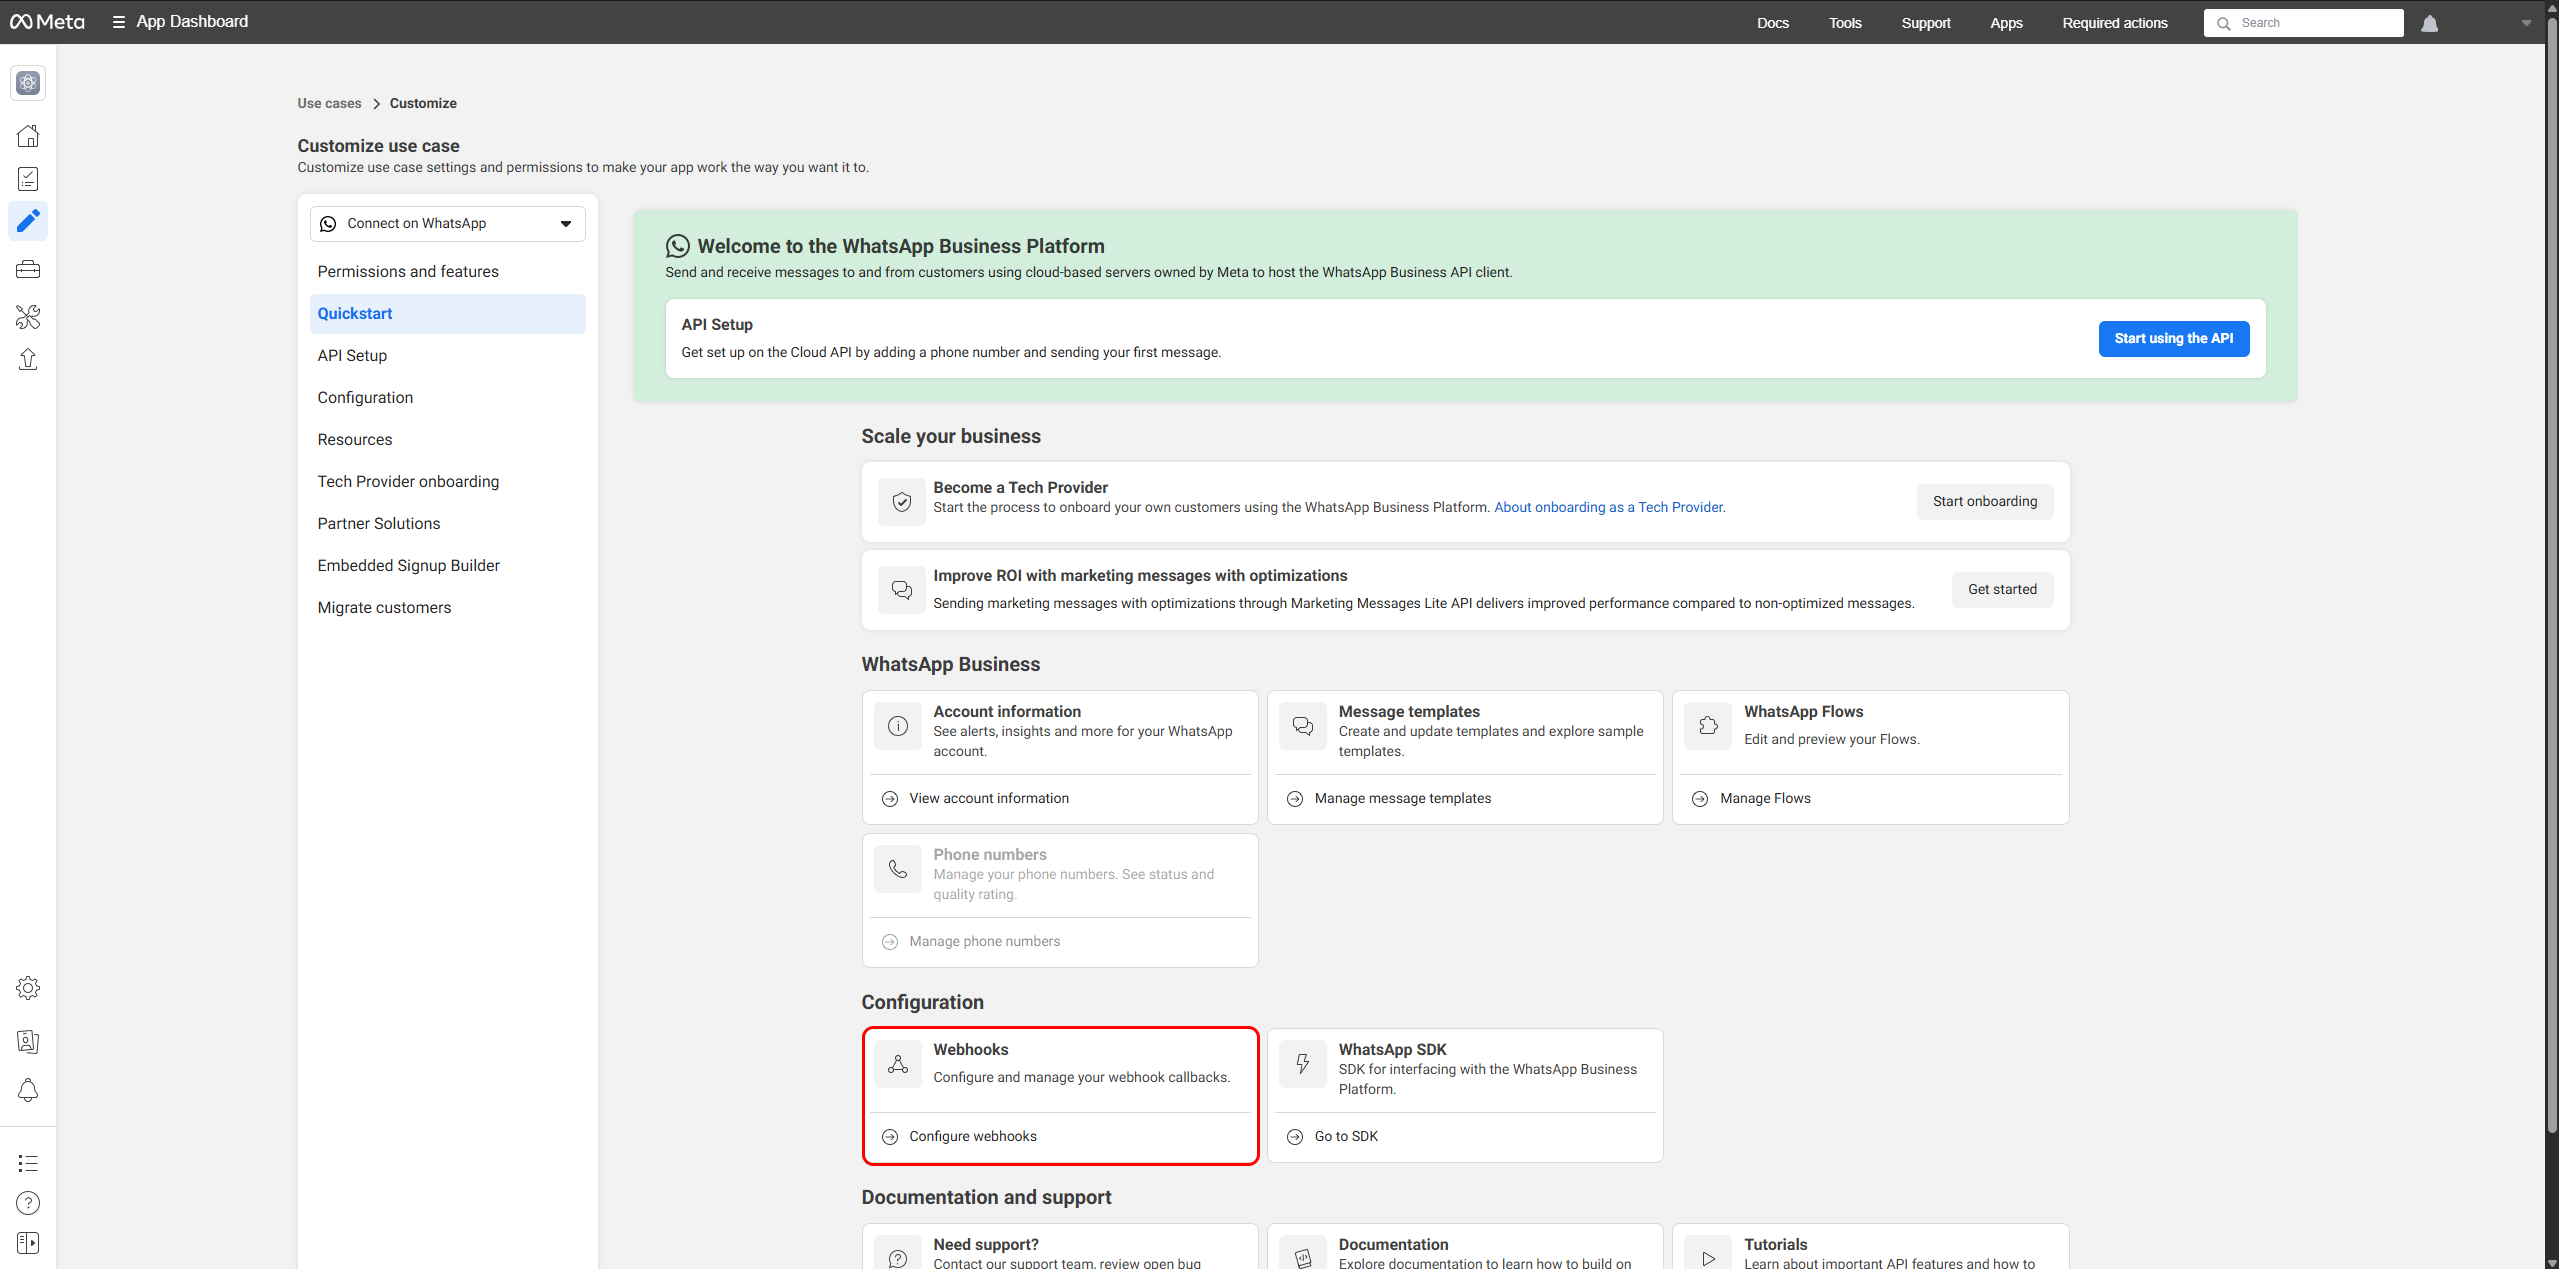
- In the app dashboard, open the WhatsApp section and select the integration or webhook configuration step.
- Copy the Callback URL and Verify Token from your ChatBridge integration settings.
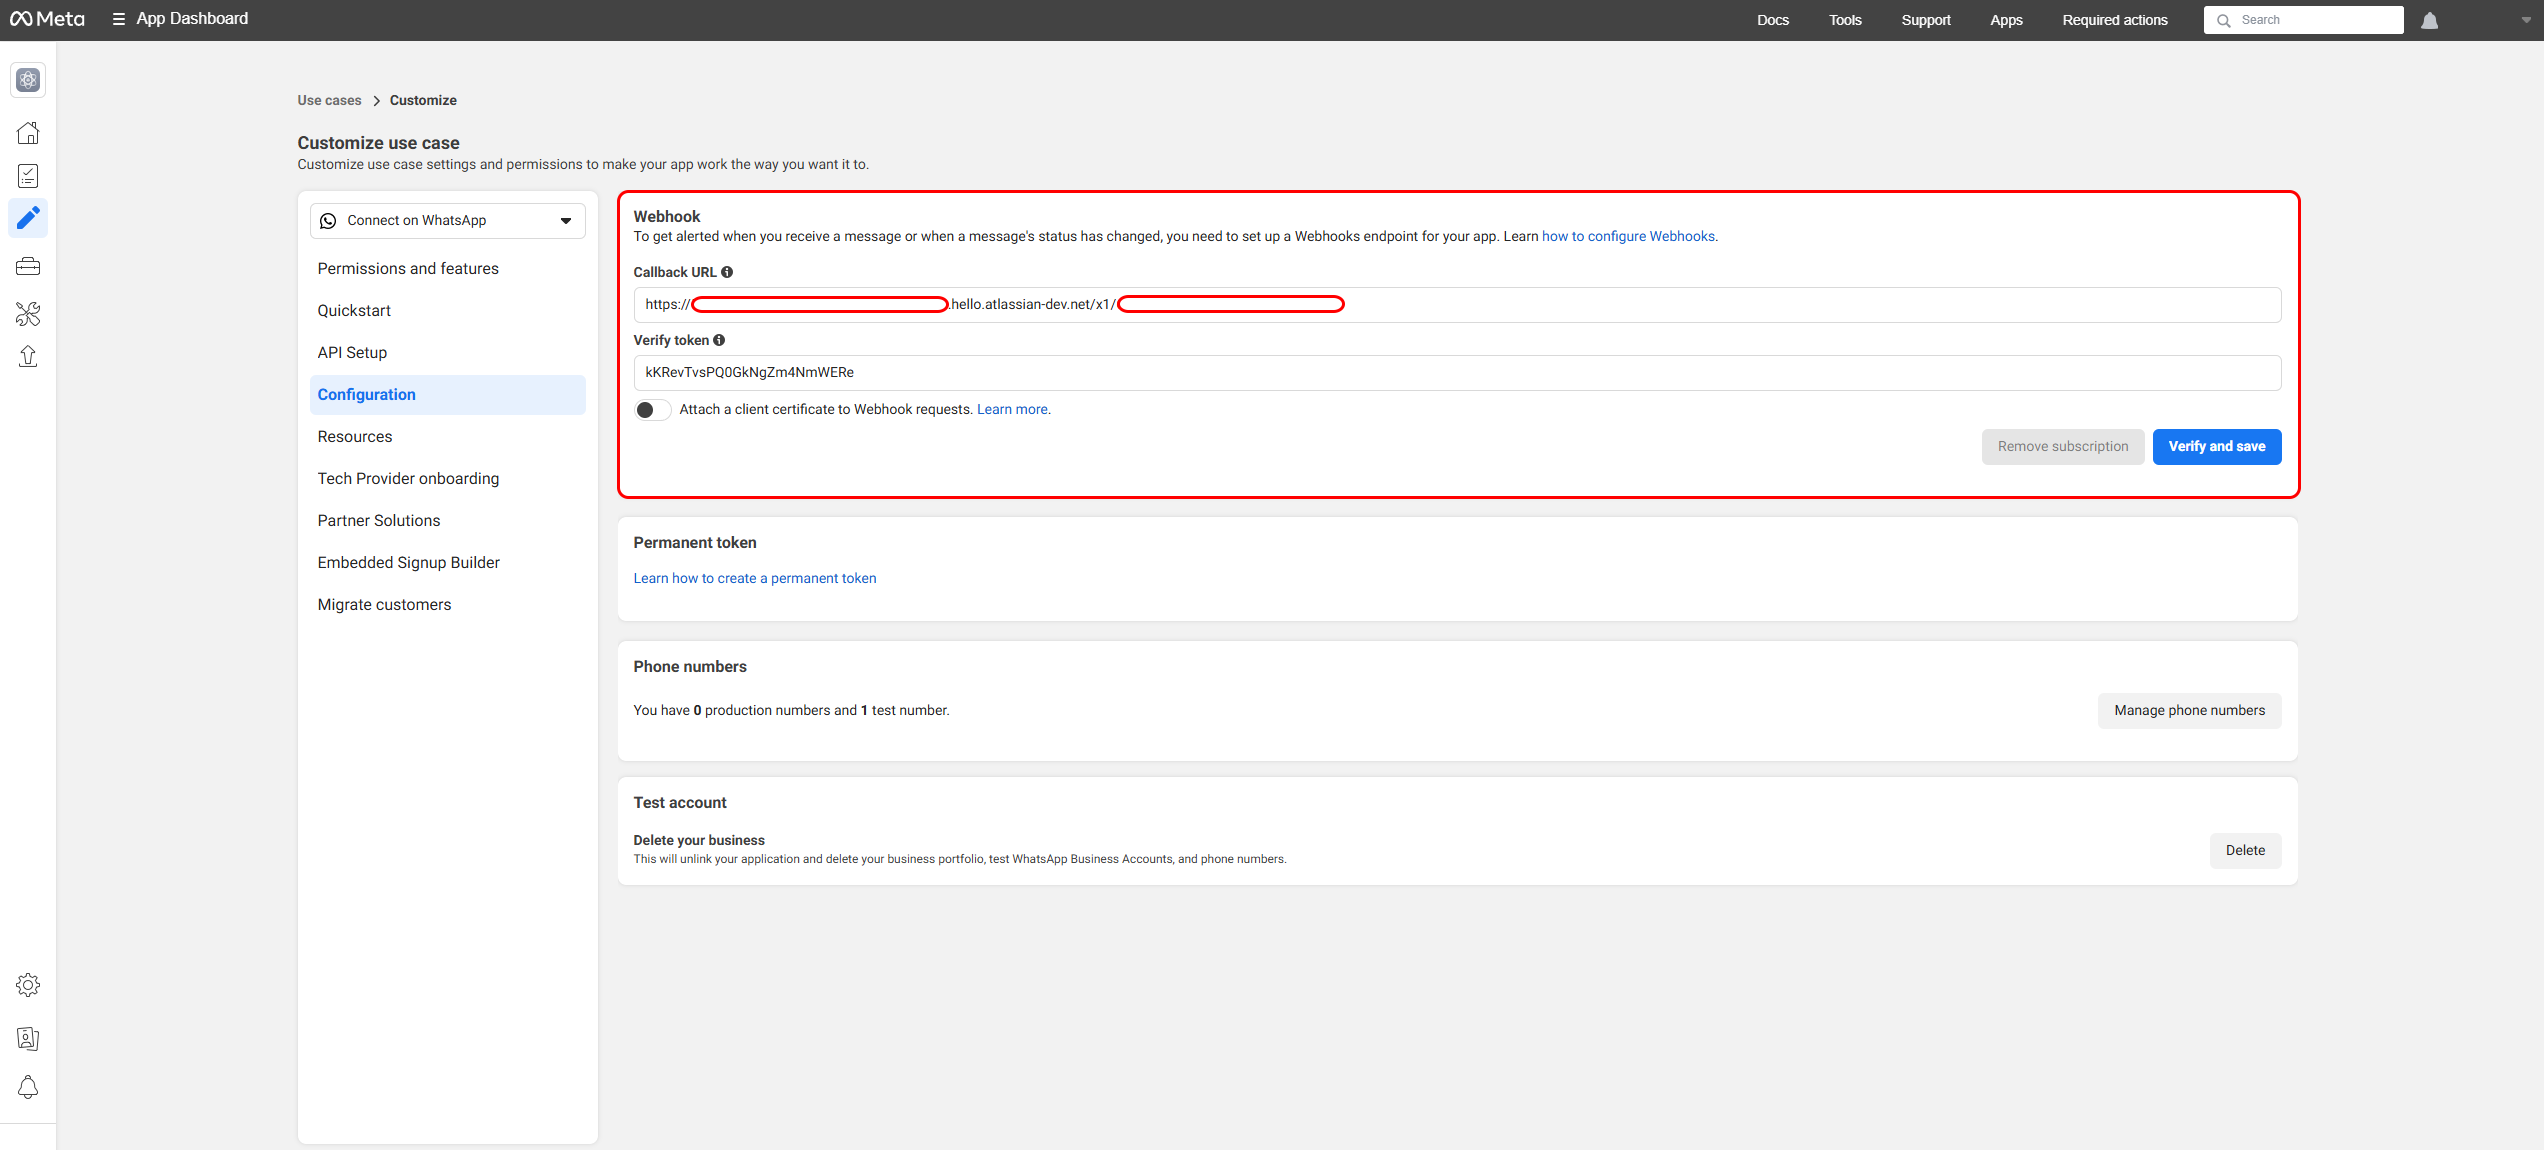
- Paste these values into the webhook configuration page.
- Click Verify and then Save.
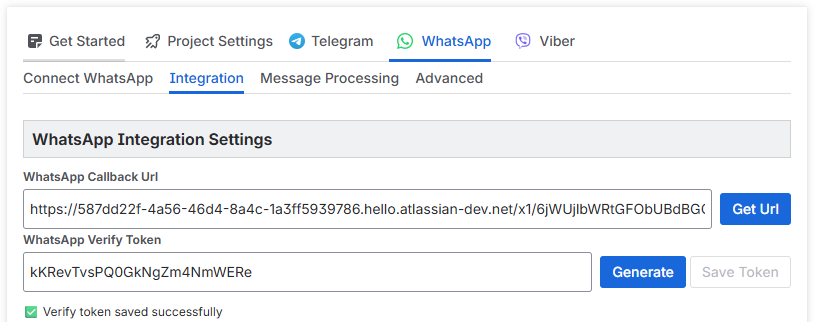
4. Get Callback URL and Verify Token from ChatBridge
The Callback URL and Verify Token values can be obtained from the Integration tab in the WhatsApp section of ChatBridge.
-
Click the Get URL button and copy the generated URL.
-
Click Generate and then Save Token to create the verify token.
-
Copy the token and paste it into the webhook setup page.
After clicking Verify and Save, return to the Dashboard using the left sidebar.
User message handling setup is complete. Continue to Part 2 to configure sending messages via WhatsApp Cloud API.
Continue to the next article: How to Set Up WhatsApp Cloud API for Chatbridge Part 2.